 Facebook recently made some updates to Pages that are really exciting. I think I could feel the excitement of every page admin I know when we all read about admin roles and scheduled posts.
But how do you schedule them?
It’s not super obvious, so here’s the rundown:
1) Set up the content that you want to schedule - status, link, picture or video. Add any text you want to include.
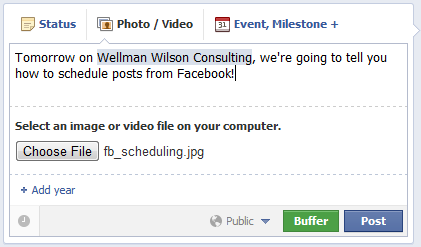
2) At the bottom left of your post you’ll see a little clock. Click on it and select the year, month, day, hour and minute (you only get the 10s as an option) you want your post to be published.
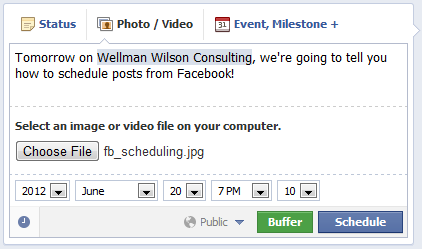
3) Press the submit button and Facebook will confirm that you’re scheduling the post for the date and time you specified and you can close out or go to your Page’s activity log to see the post.

BUT, what if that post you scheduled needs to be changed or cancelled later?
Good question! Because this part is even less obvious. First, apparently you have to be using Facebook as yourself - not as your Page.
Go to your page (still logged in as you).
At the top of your page, you’ll see an Edit Page button. If you click on it, there is a list of options. Select Use Activity Log.
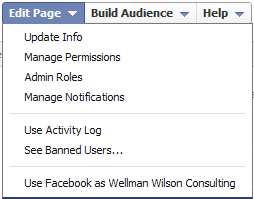
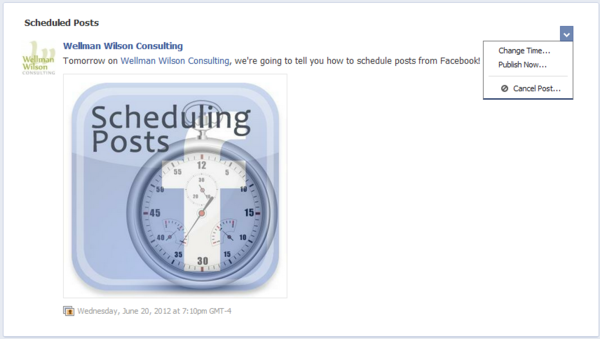
The top section of your activity log has all your scheduled posts. You can change the scheduled time or delete the content but editing isn’t available…yet (I’m betting a future update will clear up this little issue).
Now, isnt this handy!? And if you go to our Facebook page today, you’ll see that post was published last night as planned. (Feel free to like our page while you’re there if you’re so inclined. ;)
Have you scheduled any posts to Facebook yet? What do you think do far?


